How do I design my dream kitchen? A question that emerges every time a homeowner starts planning a new house. Kitchen design is one of the most consequential projects a homeowner can take on. It is expensive, the decisions are largely permanent, and the room you end up with will define how your home functions for years. Getting the process right matters more than getting any individual decision right. This guide covers all eight steps of kitchen design in the correct order, from the first planning conversation you should have with yourself to the final visualization step that confirms everything works before you commit to a single material.

Step 1: Start With How You Actually Use Your Kitchen
Kitchen design fails most often not because of a wrong tile choice or a poor cabinet color, but because the design was built around what a kitchen should look like, rather than how the specific household uses one.
Before any layout is drawn or any style is chosen, answer these questions honestly:
How many people cook at the same time?
A single-cook household and a household where two adults cook together every night need fundamentally different layouts. Clearances, counter zones, and appliance placement all change based on this answer.
How often do you cook, and how seriously?
A household that cooks three meals a day from scratch needs deep storage, extensive counter space, and a serious stove position. A household that cooks occasionally needs a kitchen that looks good and stays clean easily.
Does the kitchen need to be social?
Open-plan kitchens where guests gather at an island while someone cooks require different sightlines and circulation paths than a closed kitchen used only for preparation.
What storage problems do you have right now?
Before designing a new kitchen, identify what is genuinely failing in the current one. Too little counter space? Not enough storage near the stove? Nowhere to put the weekly shop? These are the problems the new design must solve, and they must be identified before layout decisions are locked.
This audit takes thirty minutes. Skipping it costs thousands later.
Step 2: Choose Your Kitchen Design Layout
Every kitchen design begins with layout, not style. The layout determines how the kitchen functions every day. The style determines how it looks and functions.
There are six standard kitchen layouts, each suited to different room sizes and household needs.

Single-wall Kitchen Design Layout:
In this layout, all cabinets and appliances run along one wall. Ideal for studios, apartments, and open-plan spaces where the kitchen is part of a larger room. Limited counter space, but very clean visually.
Galley Kitchen Design Layout:
Two parallel runs of cabinets with a corridor between them make a galley kitchen more useful. It’s one of the most functionally efficient kitchen layouts available. Everything is within a few steps, and the work triangle builds itself. Works in narrow, rectangular rooms and suits single-cook households particularly well.
L-shaped Kitchen Design Layout:
This is the most versatile layout available. Cabinets on two adjacent walls in a corner configuration. Works in both small and large kitchens, leaves the remaining floor plan open, and supports an island in larger spaces. The L-shaped layout is the most commonly recommended starting point for most homes.
U-shaped Kitchen Design Layout:
Achieve maximum storage and counter space with this layout. Cabinets on three walls. Suits dedicated kitchens, avid cooks, and large families. Requires enough room to move through the central corridor comfortably without the three walls feeling oppressive.
Peninsula Kitchen Design Layout:
Peninsula kitchen layout is an extension of the L-shaped layout with a connected counter that projects into the room rather than floating freely. Provides island benefits (extra prep space, seating, definition of the kitchen zone) without requiring the clearance of a freestanding island. It suits medium kitchens that cannot accommodate a true island.
Island Kitchen Design Layout:
It’s an open layout with a freestanding unit at the center. Requires a minimum of 42 inches of clearance on all sides for one cook (48 inches for two). The island becomes the social and functional anchor of the kitchen. Works in open-plan homes and larger kitchens.
Step 3: Plan Around the Work Triangle
The work triangle is the foundational principle of functional kitchen design. It connects the three main work zones: the sink, the stove, and the refrigerator. The principle, established by the National Kitchen and Bath Association and still the most useful planning guideline available, states that each leg of the triangle should measure between 4 and 9 feet, with the total perimeter between 13 and 26 feet.
The practical rules that flow from this:
- No traffic path should cut through the triangle. A kitchen where family members walk between the stove and the sink to reach the dining area is a kitchen that will frustrate its cook every day.
- Each major appliance needs a landing zone. Counter space on at least one side of the stove, the refrigerator, and the sink. These landing zones are where you put down items while transferring between zones, and their absence creates friction in every cooking session.
- Counter height matters more than most people plan for. Standard counter height is 36 inches, but if you bake regularly, are significantly shorter or taller than average, or have joint issues, custom counter heights on specific zones make a noticeable difference to daily use.
Beyond the triangle, plan for a clear prep zone: a dedicated counter run close to the sink and stove where the actual work of cooking happens. This is the highest-traffic area in any kitchen, and it should have the most generous counter space in the room.

Step 4: Choose a Kitchen Design Style
With a layout confirmed, style becomes the next decision. The most useful framework for this choice is not “what do I like in photos” but “what fits my home and how I live.”
Check out the major kitchen design directions and how to match them to your space:
Timeless/Classic Kitchen Style:
If your home has historic character or traditional architecture, start here. By using Shaker or inset cabinets in a neutral palette and natural stone countertops, you create a space designed to last decades without needing to be updated. This style honors the original craftsmanship of the home while providing a high-end, permanent feel. Explore what makes a timeless kitchen design last.
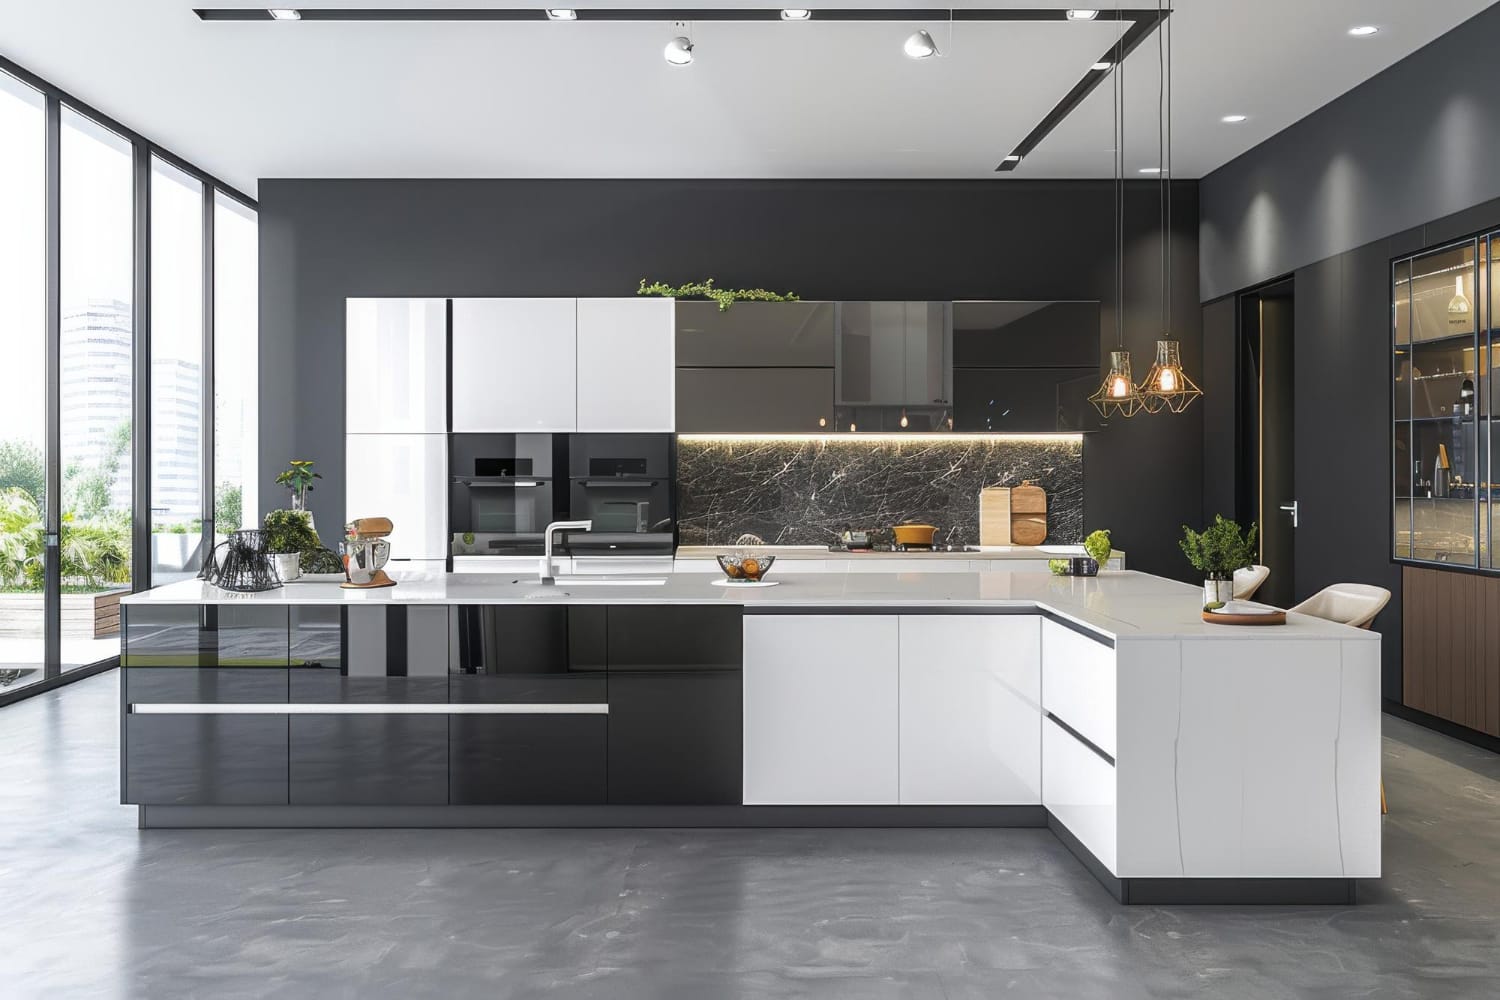
Modern Kitchen Style:
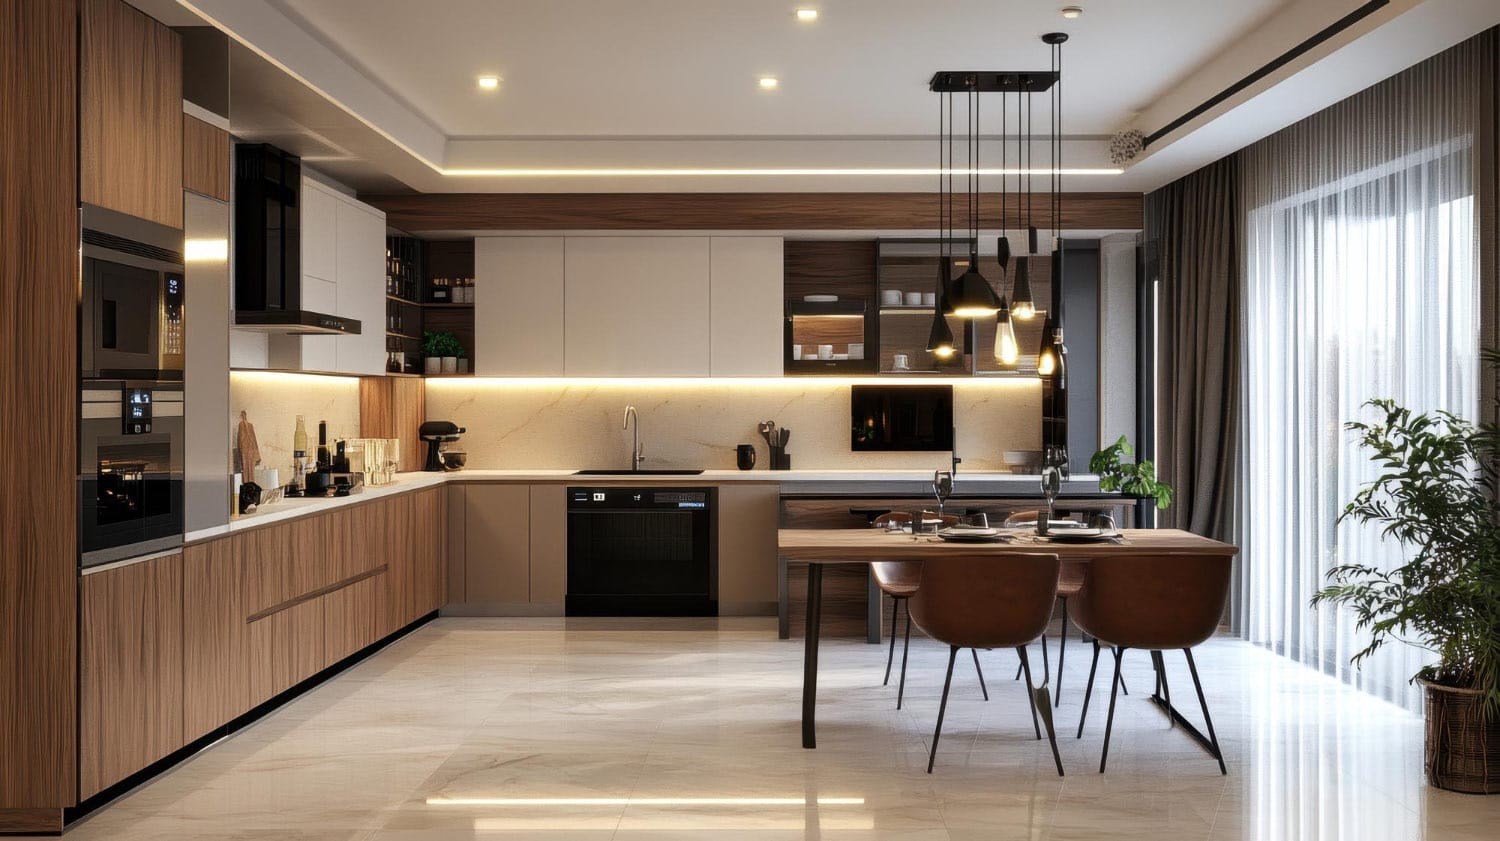
If you live in a new build, a high-rise, or a home with crisp, clean lines, the modern direction is the natural fit. It focuses on flat-panel or handleless cabinets and integrated appliances. In 2026, modern kitchen design has moved toward warmer tones and natural textures, ensuring the space feels inviting rather than clinical. The modern kitchen design guide covers all the sub-styles in detail.
Farmhouse Kitchen Style:
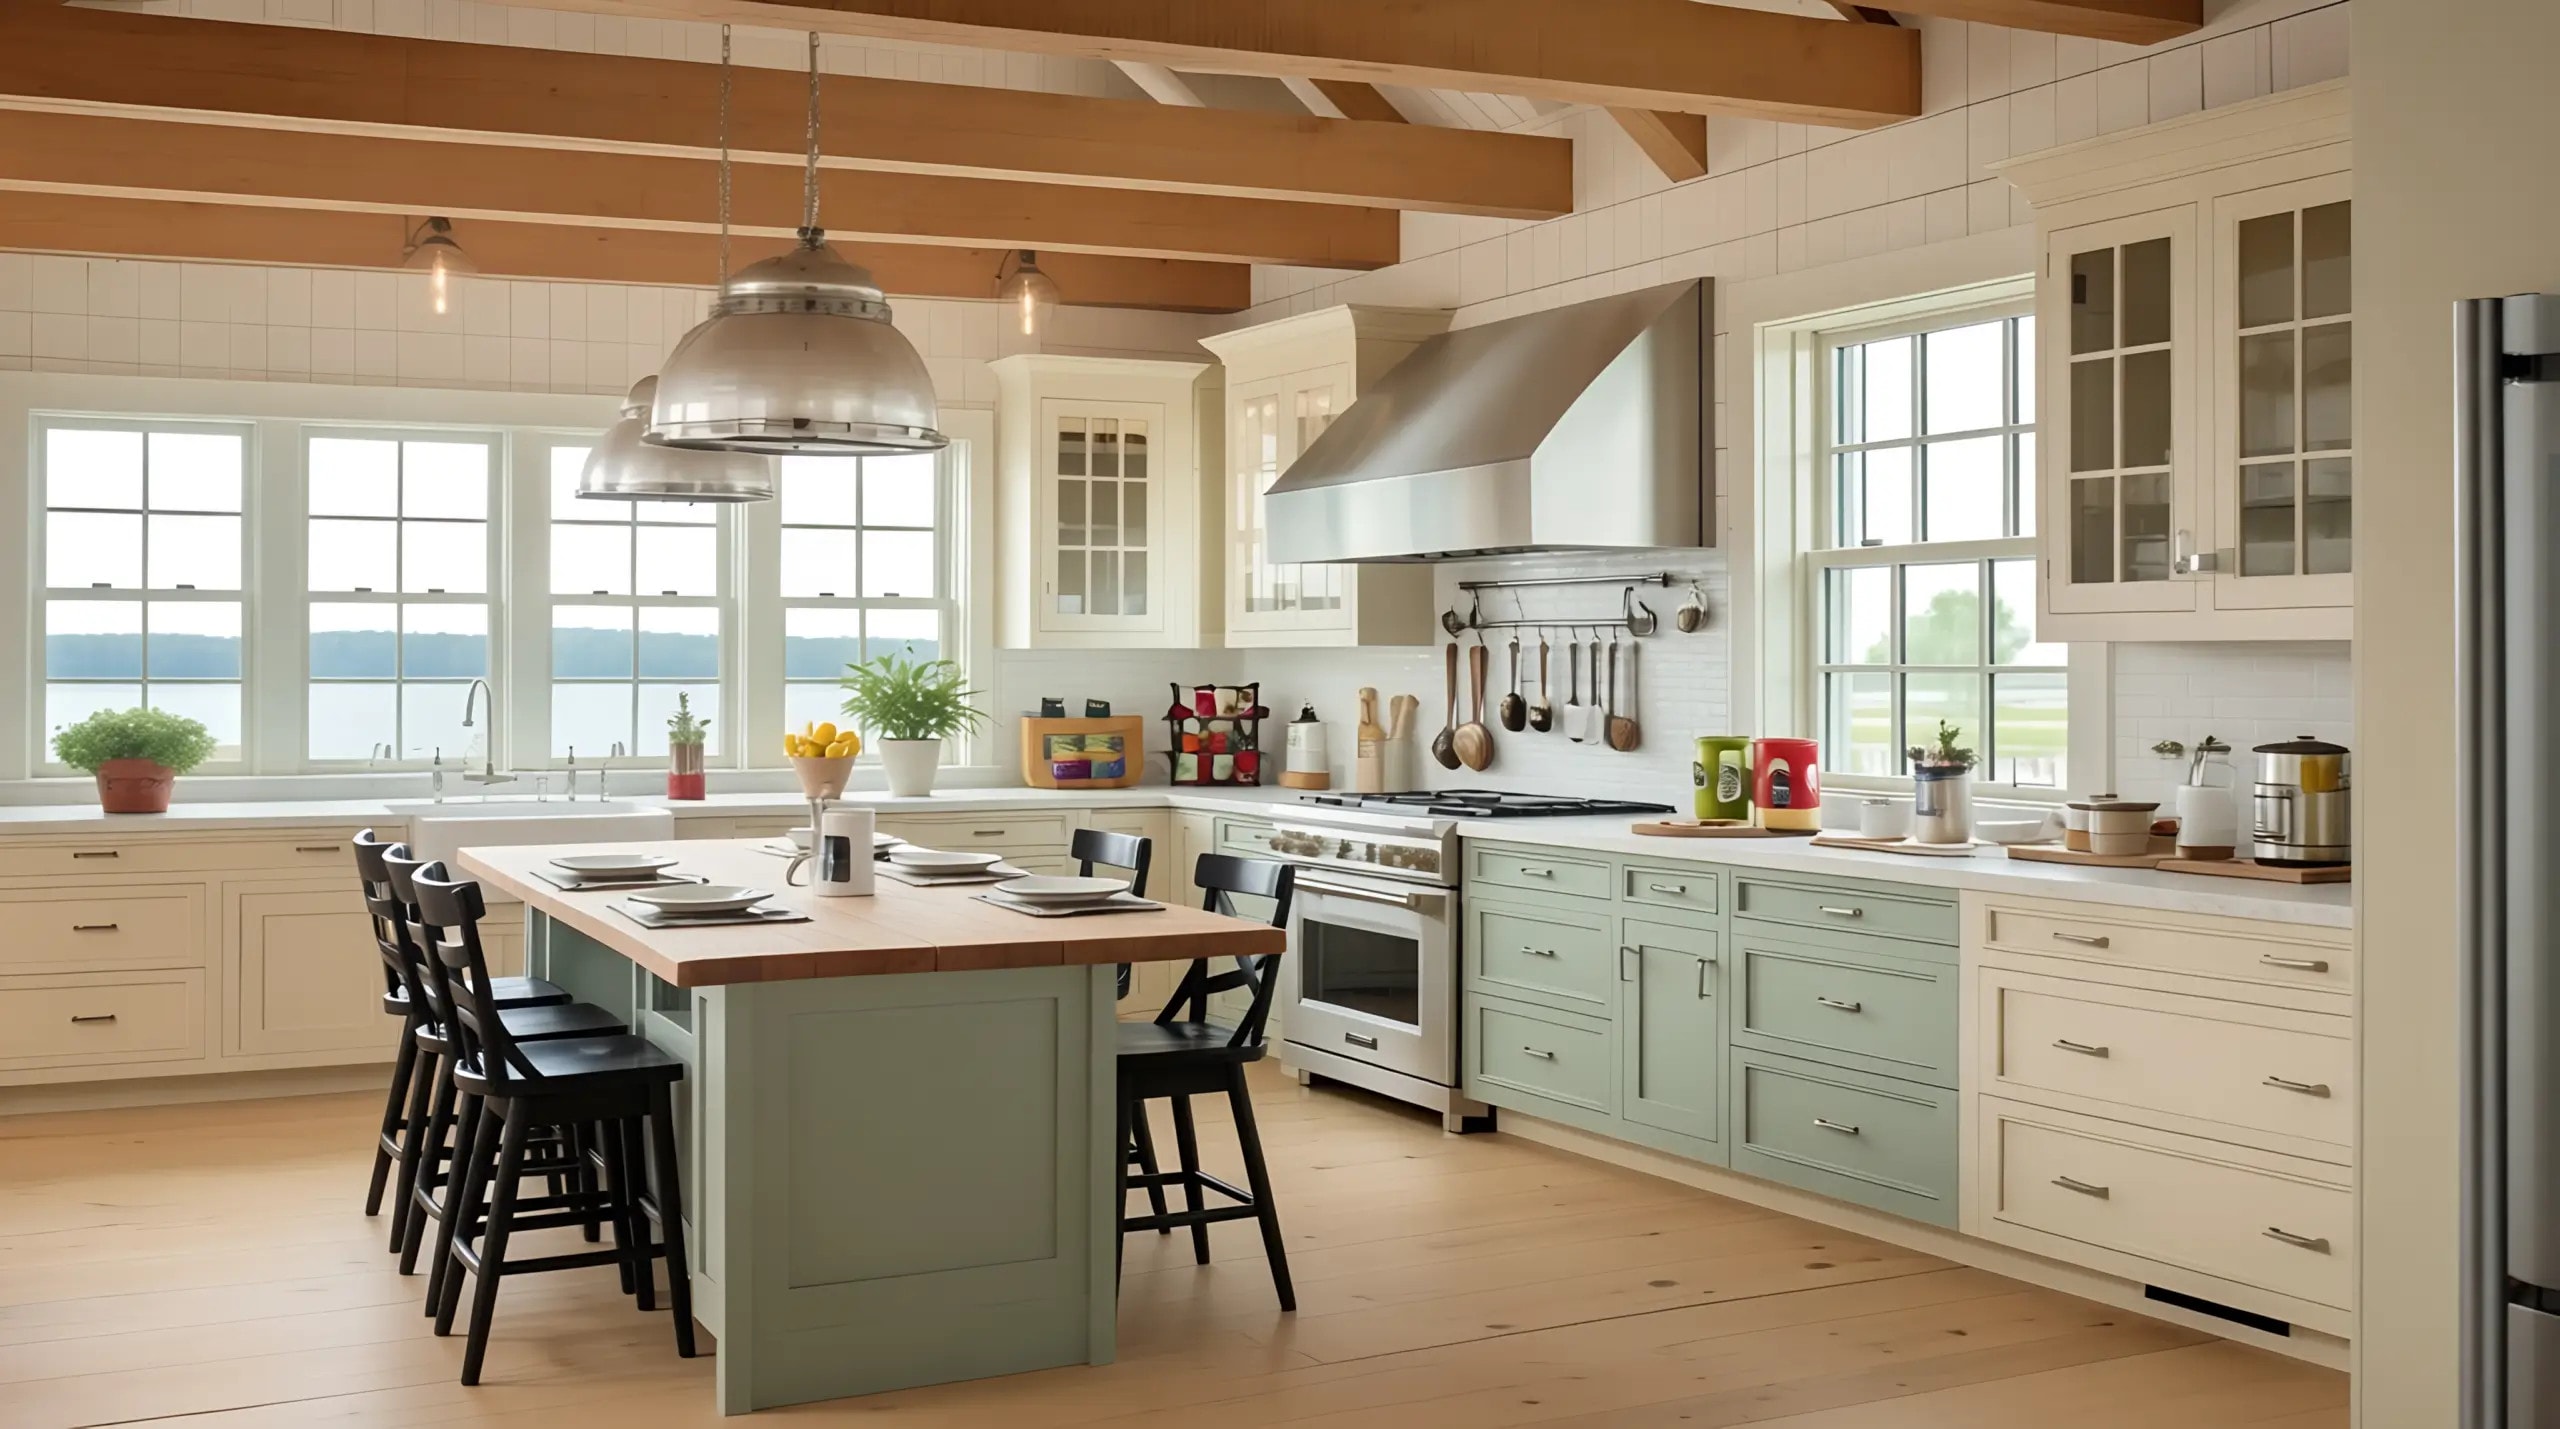
If your home is a cottage, a rustic property, or has significant ceiling height, consider the farmhouse approach. Defined by apron-front sinks, warm hardware, and open shelving, this style works best in environments that embrace a lived-in, traditional character.
Transitional Kitchen Style:
If your home is a “blank canvas” like a suburban ranch or a mid-century build, the transitional style is your best bridge. It blends traditional Shaker cabinets with sleek countertops and modern appliances. This is the most widely applicable style in renovation because it balances old and new, suiting most home types and aging gracefully.
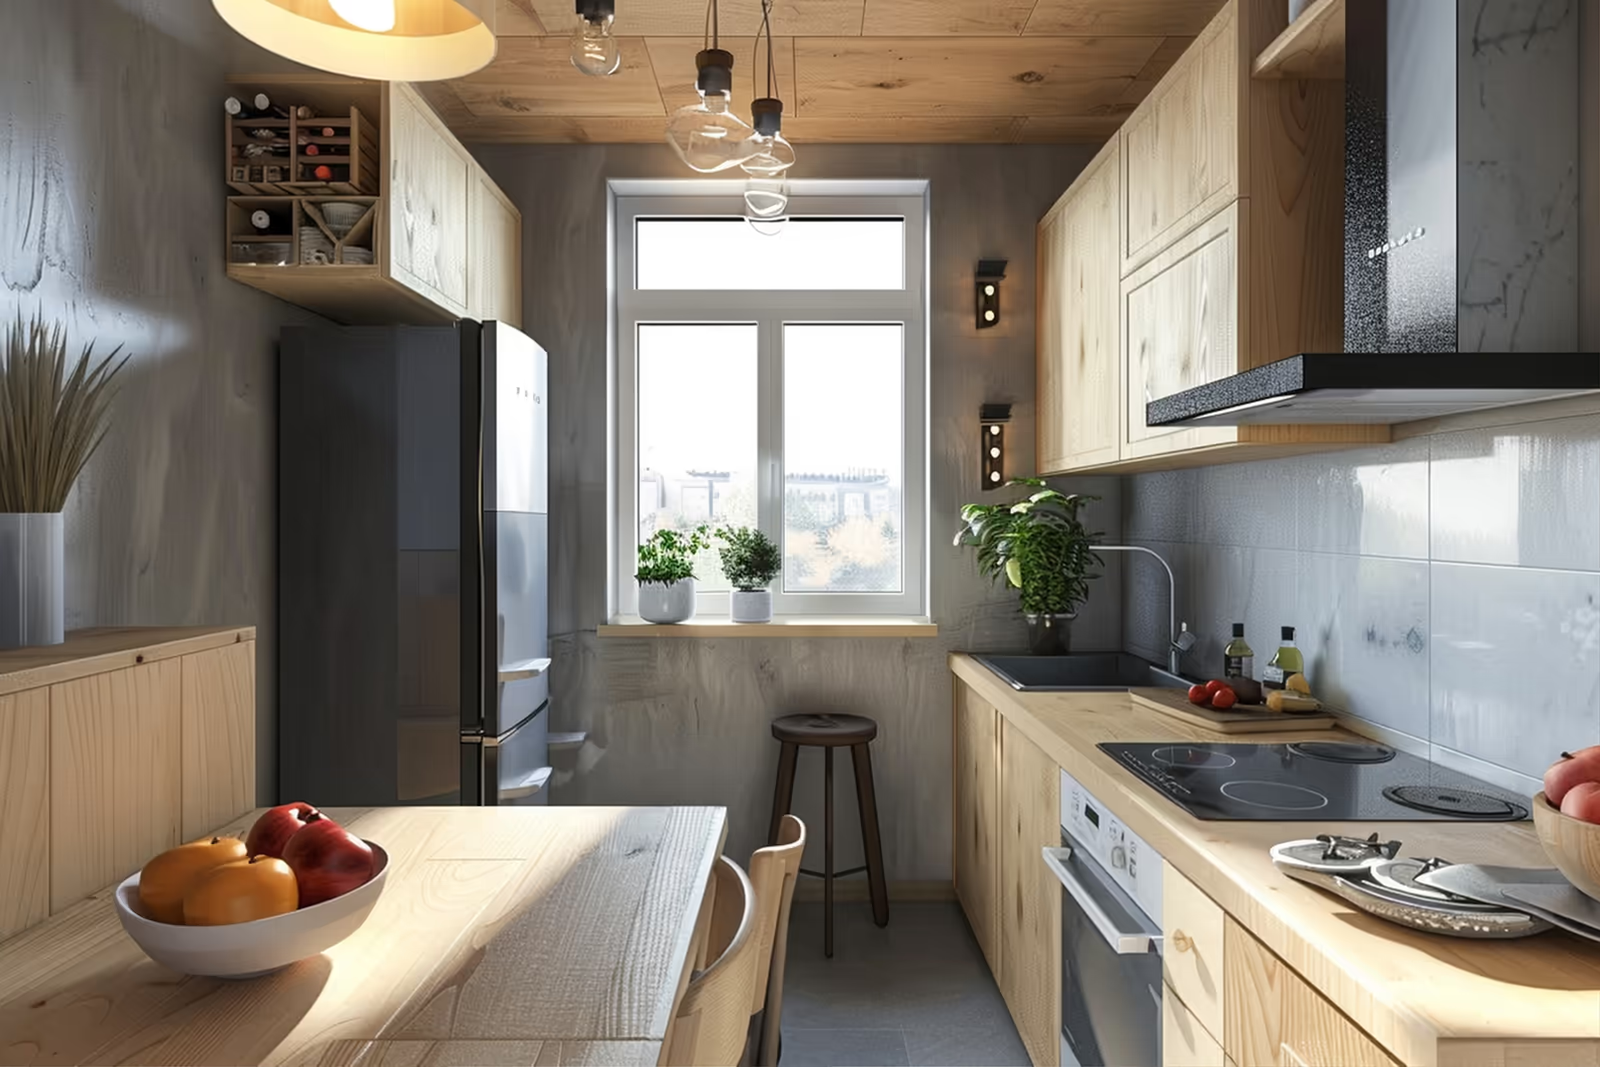
Japandi/Scandinavian Kitchen Style:
If your space is compact, lacks natural light, or you prefer a minimalist lifestyle, start with this direction. Using light wood and warm neutrals, this style relies on “deliberate restraint” to make a room feel larger and more serene. It is the ideal choice for those who want a kitchen that feels calm, considered, and quiet.
For a broader look at all the style options and what each one looks like in practice, the 30+ Kitchen Design Ideas That Actually Fit Your Space guide covers every major direction with examples.

Love these kitchen style transformations? See these styles in your kitchen.
Step 5: Plan Your Kitchen Cabinets
Cabinets are the largest single visual element in any kitchen and among the most expensive permanent decisions you will make. Getting 3 things right matters above all others:
Cabinet Profile
Cabinet profile is the shape of the door face. It determines whether your kitchen reads as traditional, modern, transitional, or timeless more than any other single element. The profiles with the strongest longevity records are:
- Shaker (recessed panel, four-piece frame): works in almost every style direction, available at every price point
- Inset (door sits flush with the frame): furniture-like quality, more expensive, ages exceptionally well
- Flat slab (no profile): defines modern kitchens, clean and minimal
Heavily ornate profiles, very trendy door styles, and any profile strongly associated with a specific design era carry more risk of looking dated.
Cabinet Construction Quality
It matters more than most renovation budgets account for. Soft-close hinges and drawer runners, solid wood face frames, and dovetail drawer construction are the details that determine whether cabinets look and feel good in five or ten years. The finish and color can always be repainted. The box construction cannot be changed.
Cabinet Color
Color is the most changeable permanent decision in a kitchen. Paint can be updated in a weekend for a fraction of the full renovation cost. That means cabinet color should be the last cabinet decision you make, not the first. Choose the profile and quality first, then add color.

Step 6: Select Countertops, Backsplash, Flooring, and Ventilation
These three elements define the material character of the kitchen. The decisions share one principle: choose longevity first, visual character second. Materials that deteriorate fast, scratch visibly, or stain permanently undermine the whole kitchen, regardless of how good the layout or cabinets are.
Countertops
Countertops are where to spend generously. They take daily abuse, and their visual presence is significant. The materials with the best track record for kitchen longevity are natural stone (marble, granite, soapstone, quartzite), quartz (engineered, non-porous, low-maintenance), and sintered stone (extremely durable, heat and scratch-resistant). For a detailed look at how natural stone holds up over years of kitchen use, This Old House’s guide to stone countertops covers every stone type and what to expect from each.
Backsplash
The backsplash is where visual personality can be introduced with less risk than any other surface, because it is the most achievable element to change in a future update. Classic subway tile in a neutral glaze, large-format porcelain in a single material, and handmade tile in an organic finish all have strong longevity records. Bold patterned tiles used as the dominant backdrop carry a higher risk of dating the kitchen.
Flooring
Flooring should be chosen before cabinets are installed, because flooring typically runs under the cabinet toe kicks, and the order of installation matters. Hardwood in oak, maple, or walnut, and large-format stone or porcelain tile in a neutral tone are the most durable and visually enduring options. Both improve with age rather than deteriorating.
Ventilation
If you cook frequently or use high-heat appliances, ventilation is a functional priority that dictates the kitchen’s air quality and cleanliness. A high-performance range hood (whether integrated into cabinetry for a seamless look or a wall-mounted chimney for a focal point) is essential for removing heat, steam, and airborne grease. Choose a unit with a CFM (cubic feet per minute) rating that matches your range’s output to ensure your surfaces stay cleaner longer and your kitchen remains a comfortable environment.

Step 7: Plan Your Lighting Before the Walls Close
Changing the lighting scheme after the kitchen is built means opening walls. It’s the most underplanned element in kitchen design. It is also the hardest to fix after construction is complete, because the wiring, switch positions, and circuit layout are determined before the walls are closed.
Good kitchen lighting uses three layers, and all three should be planned before anything else is installed.
Ambient lighting
Ambient lighting provides the base level of brightness. Recessed ceiling lights in a grid layout, flush-mount ceiling fixtures, or a combination. All ambient sources should be on dimmers. A kitchen that can only be fully bright or fully off is inflexible and unpleasant to spend time in.
Task lighting
Task lighting focuses on the specific work zones: countertops, the sink, and the island. Under-cabinet LED strips are the single most practical task lighting element in any kitchen. They eliminate shadows cast by ambient ceiling lights and make prep work noticeably easier. Pendant lights above the island serve both task and visual roles, defining the island as the kitchen’s focal point while lighting the work surface.
Accent lighting
Accent lighting adds depth and atmosphere. Interior cabinet lighting, toe-kick LEDs, and strip lights under upper cabinets that wash the backsplash all contribute to the layered quality that separates a well-designed kitchen from a functional one. For a detailed reference on how to build a layered lighting scheme, Lutron’s guide to layering lighting is the most comprehensive available.
Plan the light sources, switch positions, and dimmer circuits at the same time as you plan the cabinet layout. If your kitchen designer or contractor does not include lighting planning in the initial design conversation, raise it before any drawings are finalized.

Step 8: Design Your Kitchen With AI Before You Build It
Every decision in the previous seven steps has been made on paper, in conversation, or in your imagination. The most expensive kitchen design mistake is discovering that a combination of decisions that each looked good individually does not work together in your actual space, with your actual light, and your actual proportions.
The most practical step available to any homeowner before a kitchen renovation is to see the finished result first. DecorAI’s Kitchen Redesign tool closes this gap completely. You upload a photo of your current kitchen, choose a style, specify the elements you want (cabinet profile, color, countertop material, hardware finish), and generate photorealistic redesigns in seconds. You can run multiple style directions in your actual space and compare them side by side before any material is ordered.
Here is how to use it as the final step of the kitchen design process:
- Take a clear photo of your current kitchen or an empty kitchen space with good natural light and the full space in frame.
- Go to DecorAI and open the Kitchen Redesign tool.
- Use Simple mode for faster generation, or use Pro mode to specify the decisions from your design process: cabinet profile, color, countertop material, backsplash style, and hardware finish. You can command AI with prompts in the Describe mode as well.
- Generate up to four variations at a time. Review how each element reads in your actual space. Does the cabinet color work with your flooring? Does the island proportioning feel right?
- Use the result as your renovation brief. Share it with your designer or contractor before any materials are ordered or any walls are opened.
Explore real kitchen redesigns in the DecorAI gallery to see what the tool produces across different kitchen sizes, layouts, and styles before running your own.

Ready to see your Kitchen space redesigned with DecorAI?
Upload one photo. See your space redesigned in seconds.
No design experience needed.
FAQ About Kitchen Design
How do I design a kitchen from scratch?
Start by auditing how you actually use the space: number of cooks, storage priorities, and whether the kitchen needs to serve social functions alongside cooking. Then choose a layout that fits your room dimensions, plan the work triangle, select a style, choose cabinets and countertops, and plan lighting before the walls close. The final step before any material is ordered is to visualize the result using DecorAI’s Kitchen Redesign tool, which shows you a photorealistic version of your choices in your actual space.
What is the work triangle in kitchen design?
The work triangle connects the three main kitchen work zones: the sink, the stove, and the refrigerator. Each leg should measure between 4 and 9 feet, with the total perimeter between 13 and 26 feet. No traffic path should cut through the triangle. This principle ensures efficient movement among the three most-used points in any kitchen, regardless of layout type.
How do I design a kitchen layout?
Begin by measuring the room accurately, noting all fixed points: doors, windows, plumbing locations, and structural walls. Match your space to one of the six standard layouts: single-wall, galley, L-shaped, U-shaped, peninsula, or island. The layout that allows the work triangle to function without traffic interference and provides adequate counter space on both sides of the stove is the right one for your space.
How do I design a small kitchen?
Use a galley or L-shaped layout to keep the work triangle tight. Choose light cabinet colors to reflect natural light. Go floor-to-ceiling with upper cabinets to maximize vertical storage. Keep counters clear by moving appliances used less than daily into cabinets. Avoid open shelving as primary storage, as it requires constant maintenance and makes small kitchens feel cluttered.
How do I design a kitchen island?
An island works when you have at least 42 inches of clearance on all sides for one cook, or 48 inches for two. Decide its primary purpose first: prep space, seating, storage, or a combination. Size it to serve its function without blocking the work triangle. In a two-tone kitchen, the island often carries the accent color or contrasting material, making it the visual anchor of the space.
Is there an app to design my kitchen?
Yes. DecorAI’s Kitchen Redesign tool lets you upload a photo of your existing kitchen, choose a style, and generate a photorealistic redesign in seconds. Pro mode gives independent control over cabinet profile, color, countertop material, hardware finish, and appliance type. You can generate up to four variations per run and compare them side by side before any renovation decisions are made. See DecorAI’s pricing plans to get started.